Since the weather is once again cooperating and feeling like Fall, I decided that we needed fun Halloween decorations for our windows. My thoughts were to hang them in the living room where the sun sets great, but my girls wanted them both in their room. These sun catchers turned out great and were a lot easier to make than I had anticipated!
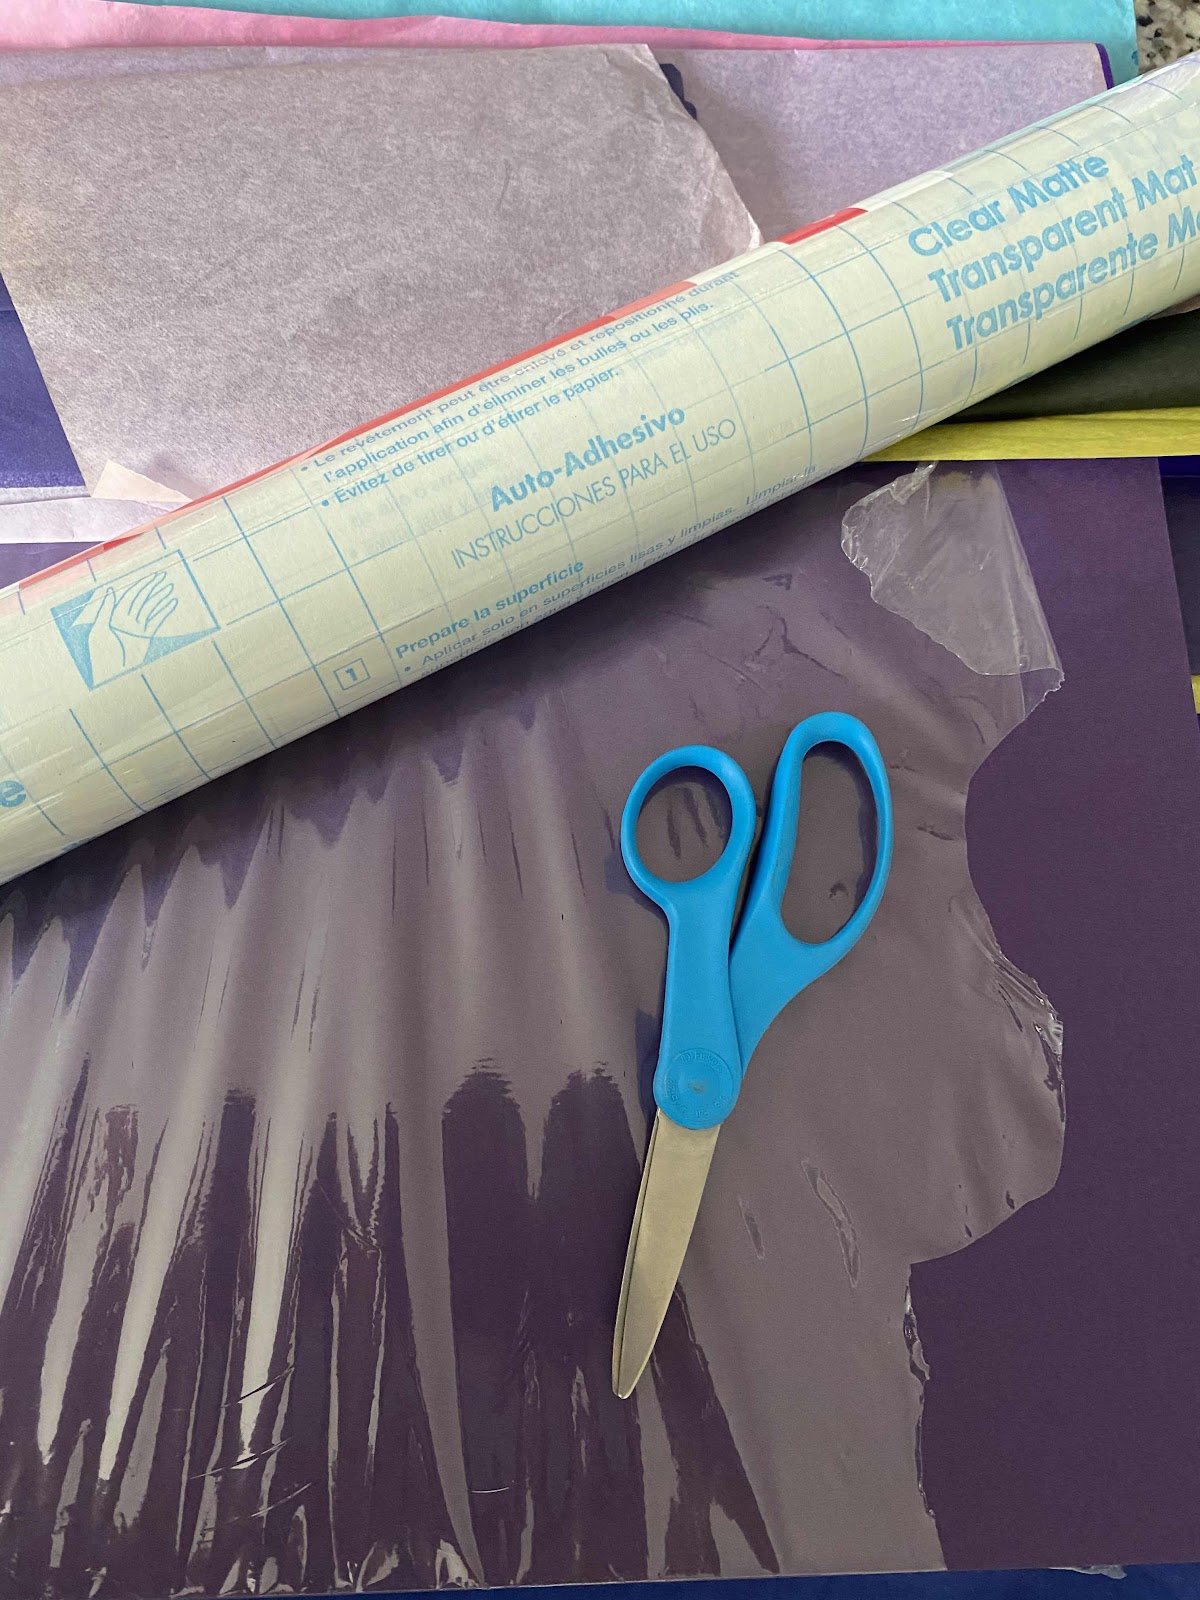
I started by gathering all the materials. I had to make a trip to Target for the clear contact paper. FYI, it is found in the kitchen section for lining cabinets. I expected it to be in the school supply area.
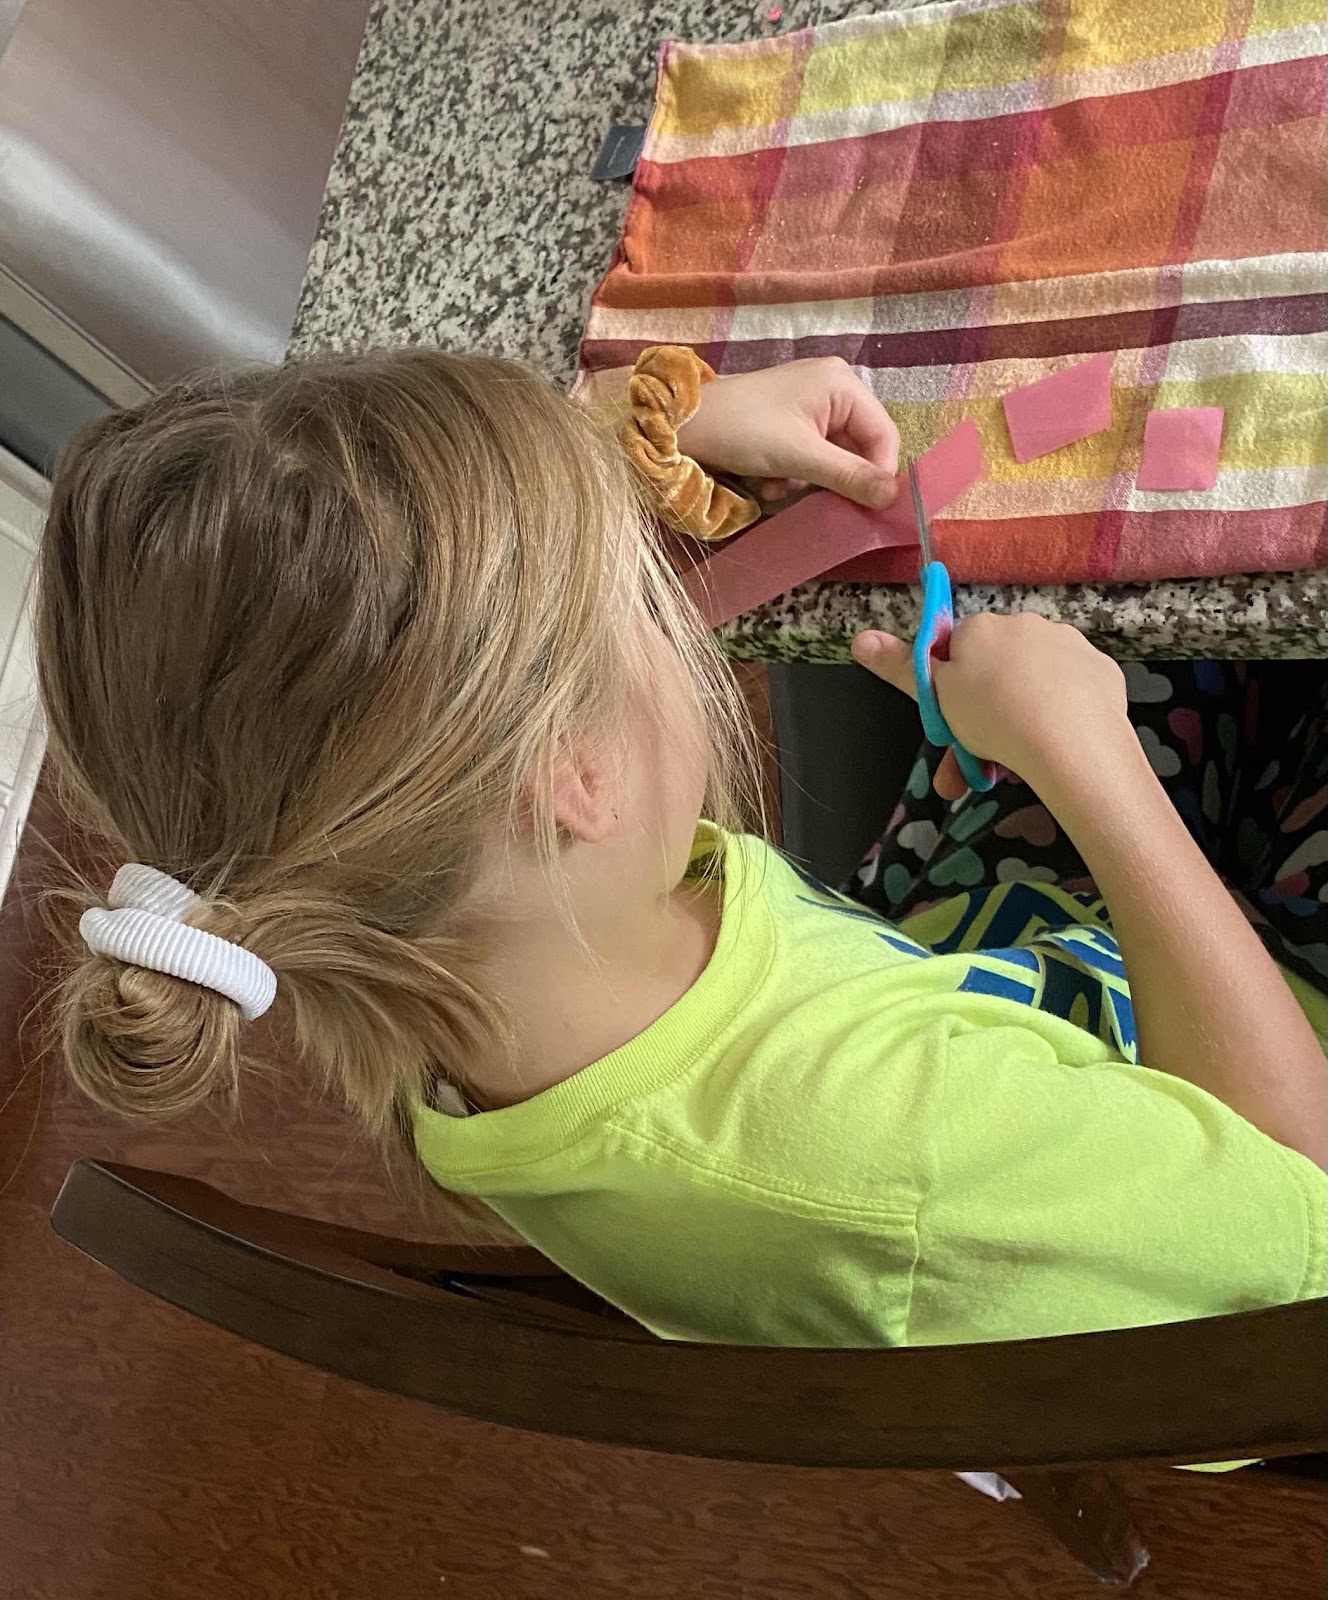
You will need contact paper, scissors, construction paper or card stock and tissue paper. The tissue paper is cut into squares so scraps or wrinkled sheets are perfect. I initially cut the tissue paper but then the girls wanted to help and it is actually great scissor cutting practice because the pieces don’t need to be perfect squares they can be any shape.
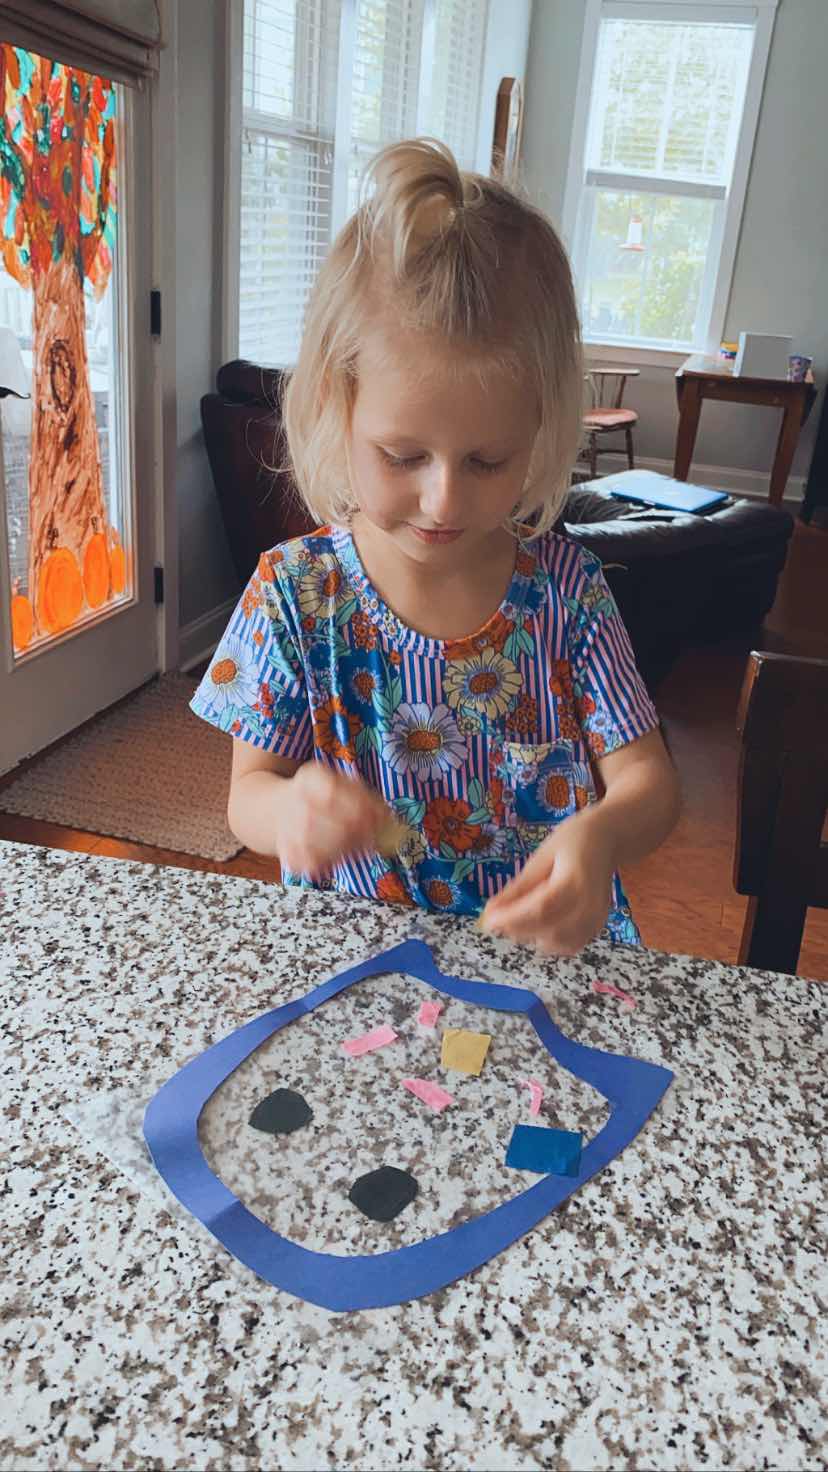
Next, we decided what shapes to make. The girls decided on a pumpkin and a ghost. I freehanded them. They’re not perfect but they work. I cut the initial shape out then bent the paper to cut an outline out, so that only the outline remained. See the picture below.
Then cut a piece of contact paper to fit on your shape. Leave the sticky side up so that the tissue paper can stick to it.
The tissue paper just sticks directly on the contact paper. Once the shapes are covered in tissue paper take another piece of contact paper and place it on top of the shape so that both sticky sides are touching each other. Smooth the contact paper out. Then take scissors and cut around the outline. We learned that it is ok if the tissue paper is off the outline because you are going to cut around it. I would love to see what designs you come up with. Please leave pictures in the comments or tag me on Instagram @pintsizedlearning or Facebook, Pint Sized Learning. Happy Creating!
Theresa


No comments:
Post a Comment